


Need Java on your Ubuntu system? OpenJDK is the free, open-source version of Java, perfect for running apps like Minecraft or developing your own projects.
Whether you’re on Ubuntu 24.04 or an older version, installing OpenJDK is quick and easy.
In this guide, we’ll walk you through setting up OpenJDK (versions 17, 21, and more) with simple terminal commands, plus tips to verify and manage it.
Let’s get Java running smoothly.
How to Install OpenJDK on Ubuntu
Choose your version, OpenJDK 17 (great for Minecraft), 21 (stable long term support), or 23 (latest as of 2025) and follow these steps:
Step 1: Update Your System
- Open a terminal.
- Update package lists:
sudo apt update - Upgrade installed packages:
sudo apt upgrade -y (Omit -y to confirm manually)
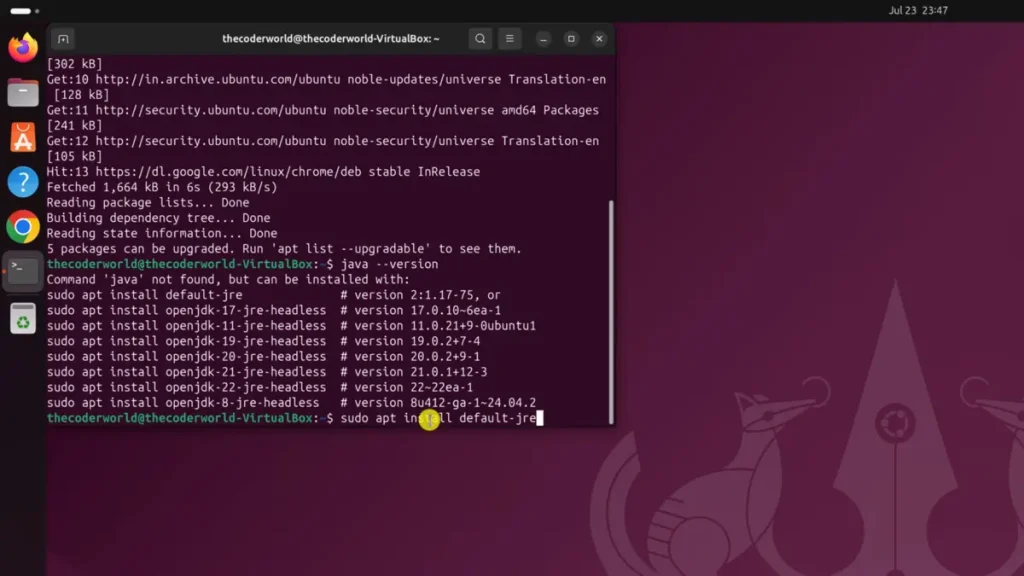
Step 2: Install OpenJDK
- For OpenJDK 17 (Recommended for Minecraft):
sudo apt install openjdk-17-jre (Runtime only)
sudo apt install openjdk-17-jdk (Full dev kit) - For OpenJDK 21 (Stable LTS):
sudo apt install openjdk-21-jre
sudo apt install openjdk-21-jdk - For OpenJDK 23 (Latest):
sudo apt install openjdk-23-jre
sudo apt install openjdk-23-jdk - Tip: Not sure which versions are available? Check with: apt search openjdk
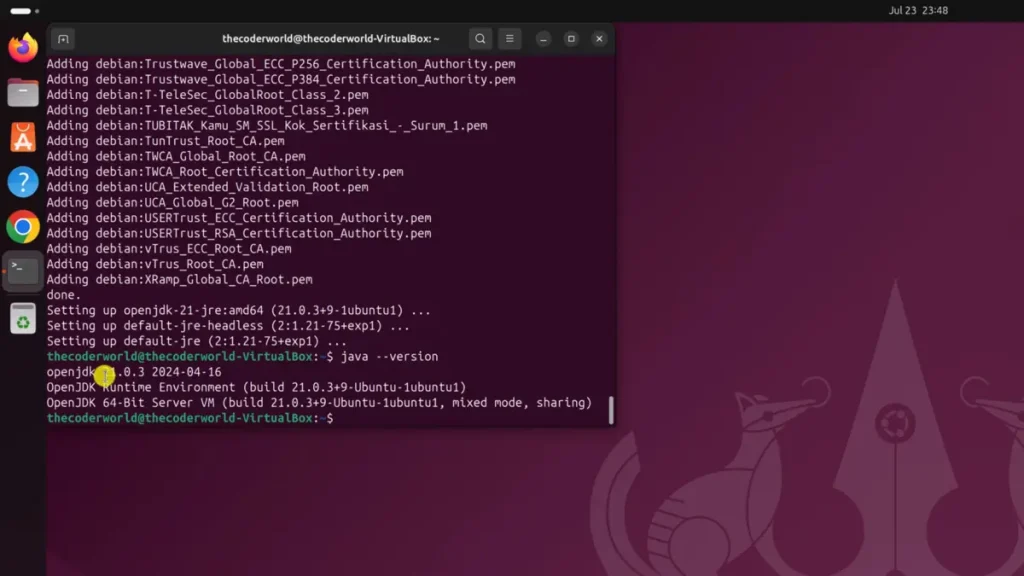
Step 3: Verify the Installation
- Check the Java version:
java -version- Expect output like “openjdk 17.0.11,” “21.0.4,” or “23.0.2” based on your choice.
Step 4: Set Default Version (Optional)
If you’ve installed multiple versions:
- List installed versions:
update-java-alternatives –list - Set your preferred version (e.g., OpenJDK 22):
sudo update-java-alternatives –set [VERSION_NAME_FROM_LIST] (Replace with output name, e.g., java-1.22.0-openjdk-amd64)
Quick Tips for OpenJDK on Ubuntu
- Minecraft Fix: If Minecraft won’t launch, ensure JRE is installed (e.g., openjdk-17-jre).
- Latest Features: OpenJDK 23 brings performance boosts, ideal for modern apps.
- Check Updates: Keep Java current with: sudo apt update && sudo apt upgrade.
System Requirements for OpenJDK
Works on most Ubuntu setups:
- OS: Ubuntu 20.04 or newer (tested on 24.04 LTS)
- Storage: ~300MB free space (varies by version)
- Memory: 1GB RAM (more for heavy apps)
OpenJDK in Action: Screenshots
See OpenJDK on Ubuntu:
OpenJDK Video Instructions

More Ubuntu Software to Explore
Love OpenJDK? Try these:
Need Help?
Trouble installing OpenJDK? Comment below or contact us, we’re here to assist!